Define Custom Properties
As an administrator, you may find that it is necessary to create some custom properties. These properties are used for entry of any data that you feel is relevant for an object. For example, if you want to specify a server is in a specific location, or indicate who is responsible for a particular server, etc. Custom properties can be defined for various object types.
In addition, various properties can be set when working with custom properties.
Adding a Custom Property
From the menu bar, select . The Define Custom Properties dialog box displays.
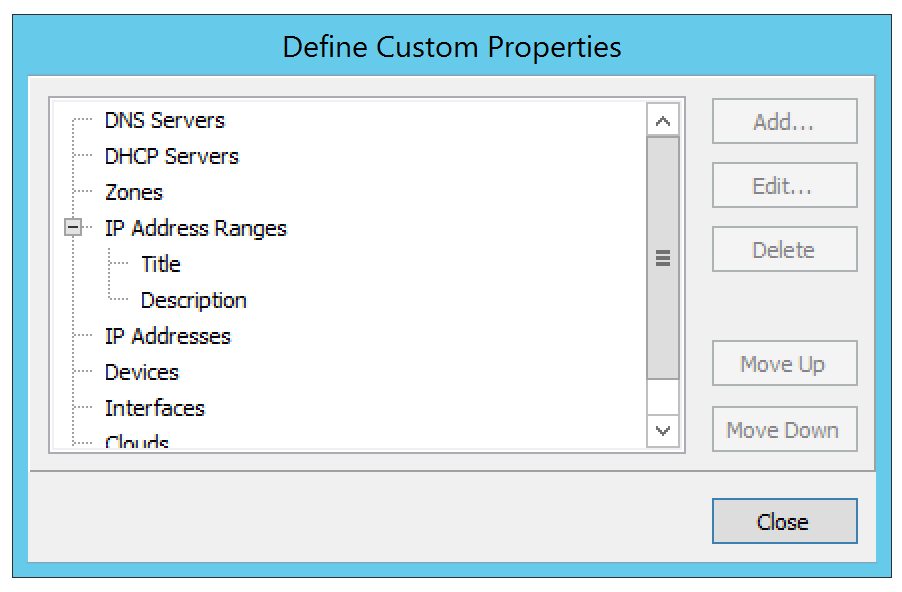
Select the object type to which you want to add a custom property.
Click the Add button. The Custom Property dialog box displays.
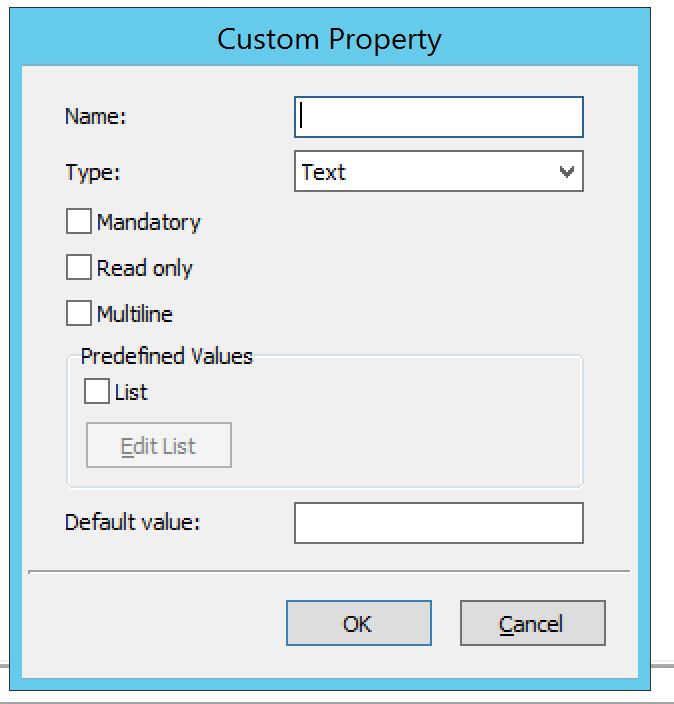
Fill in the details:
- Name.
Type a name for this custom property.
- Type.
Set the type for the property. By default, “Text” is selected. Click the drop-down list and select the desired property type - e.g., Text, Yes/No, IP Address, or Number.
- Mandatory.
When selected, a user must enter a value in this field. If you select this option, you cannot select “Read only.”
- Read only.
When selected, the field is locked for editing. If you select this option, you cannot select “Mandatory.”
- Multiline.
When selected, the edit field contains multiple lines for entry. If you select this option, you cannot select “List.”
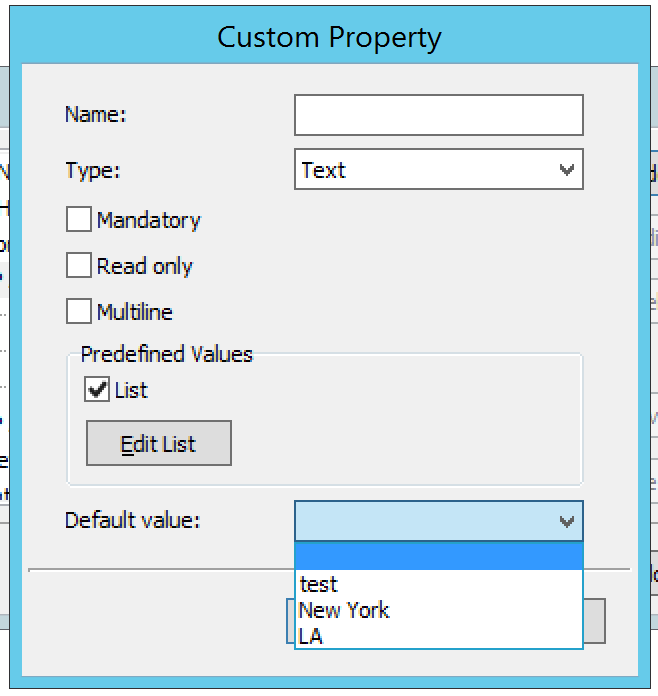
- Predefined Values.
When selected, the field displays as a drop-down list. Click the checkbox for List. Then click the Edit List button. The Custom Property List Items dialog box through which you can add, edit, and remove custom properties displays.
Note
If you select this option, you cannot select “Multiline”.
To ADD an item for this property, click Add. The Custom Property List Items dialog box displays.
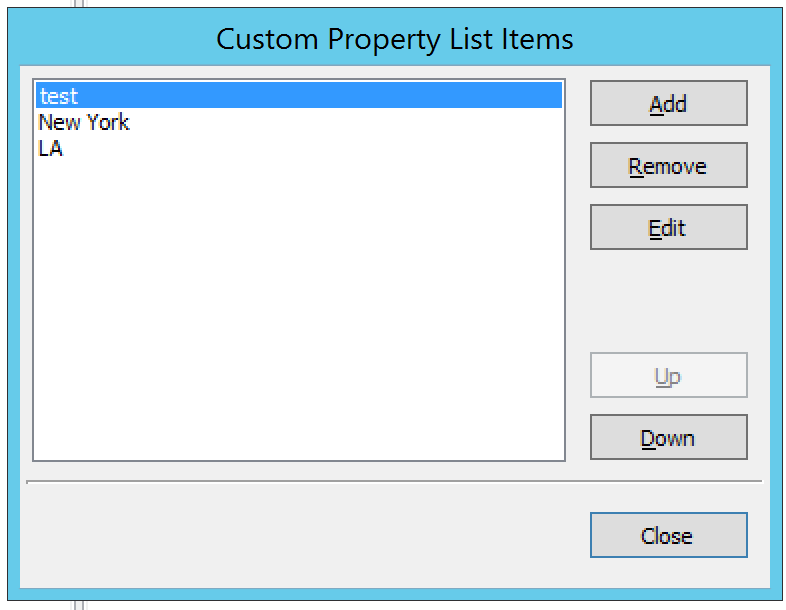
Type the item in the field provided.
Add any additional items. You can move items Up and/or Down in the list, as desired. This designates the order in which they appear in the list.
Then click OK. When you return to the Custom Property List Items dialog box, the items entered are shown.
To edit/remove any values, click Edit List and make the necessary changes.
When all selections are made, click OK.
- Default value.
Specifies the default field value to use when an object is created. This field is only a drop-down list if the ‘List’ checkbox is selected; otherwise, it is an edit field.
When all selections/entries are made, click OK. When you return to the Define Custom Properties dialog box, the new field is shown.
If there are multiple custom properties for an object, use the Move Up/Move Down arrows to change the order in which this display in the object window.
When all fields are added, click the Save button.
Editing a Custom Property
To edit a custom property, do the following:
From the menu, select .
Locate and highlight the property to be edited.
Click the Edit button.
Make the necessary changes.
Click OK.
Deleting a Custom Property
To delete a custom property, do the following:
From the menu, select .
Locate and highlight the property to be deleted.
Click the Delete button.
When the confirmation message displays, click Yes.
Click OK.
Displaying a Custom Property
Once a custom property has been defined, it is possible to view and edit its contents by opening the Properties dialog for any object of the type for which the custom property has been defined.
Opening a Custom Property URL
Anytime you have specified a URL within a custom property, you can use this option to open the URL.
Locate the item containing the URL.
Right-click and, from the shortcut menu, select Properties.
In the Properties dialog box, move to the field containing the URL.
Place the cursor anywhere in the field and right-click.
From the shortcut menu, select Open URL.
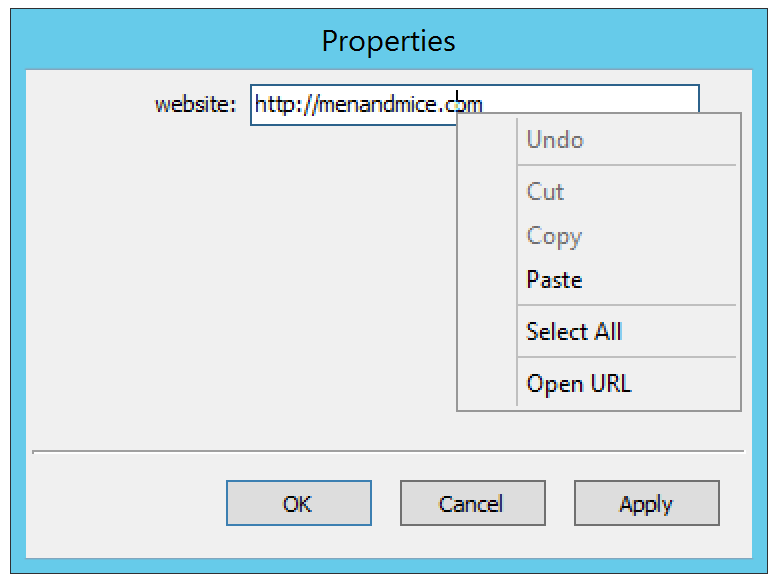
Your browser will open and the web site for the URL displays.